In Windows there is a file known as the Hosts file which allows an administrative user to map host names to IP addresses. By modifying this file you can force a website url to direct to a different IP address.
This can be useful, for example, if you wish to work on a non live version of your website, before you direct your DNS settings to the new IP address.
Please Note:You will need to be an administrative user on the device you are modifying the Hosts file for. Without Administrative permissions you will not be able to modify the Hosts file.
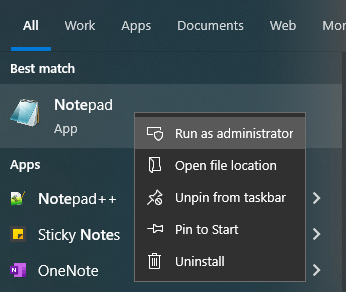
1. In your start menu, search for the default Notepad application. Right click on the notepad icon and select Run as administrator and a new notepad window should open
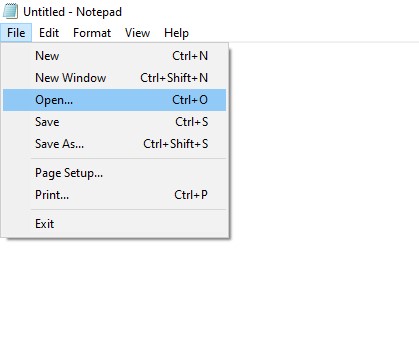
2. In the top left hand corner select File and then Open
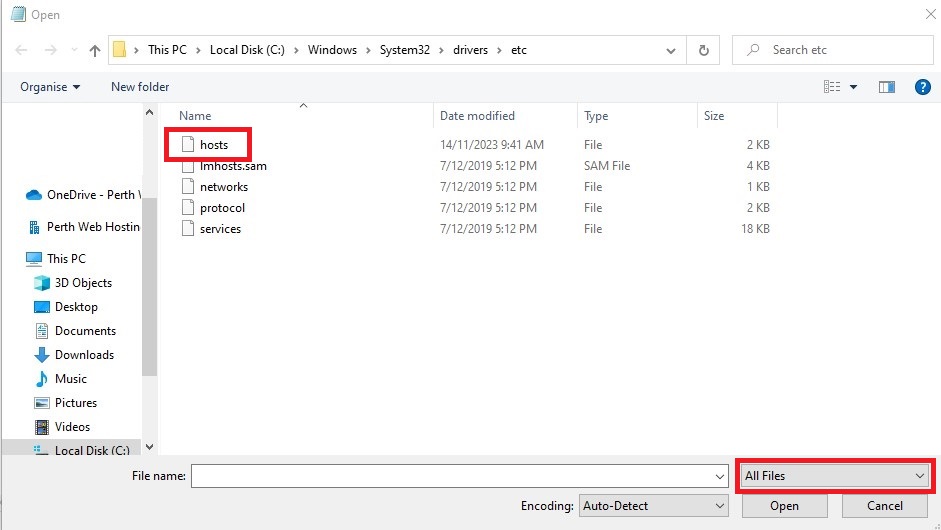
3. A file explorer interface will open and you will need to navigate to the following location: This PC > Local Disk(C) > Windows > System32 > drivers > etc
4. This folder will initially be empty. You will need to select the drop down menu which says Text Documents (*.txt) and change this to All Files.
5. At this point several files should appear. Select the file named Hosts and select Open
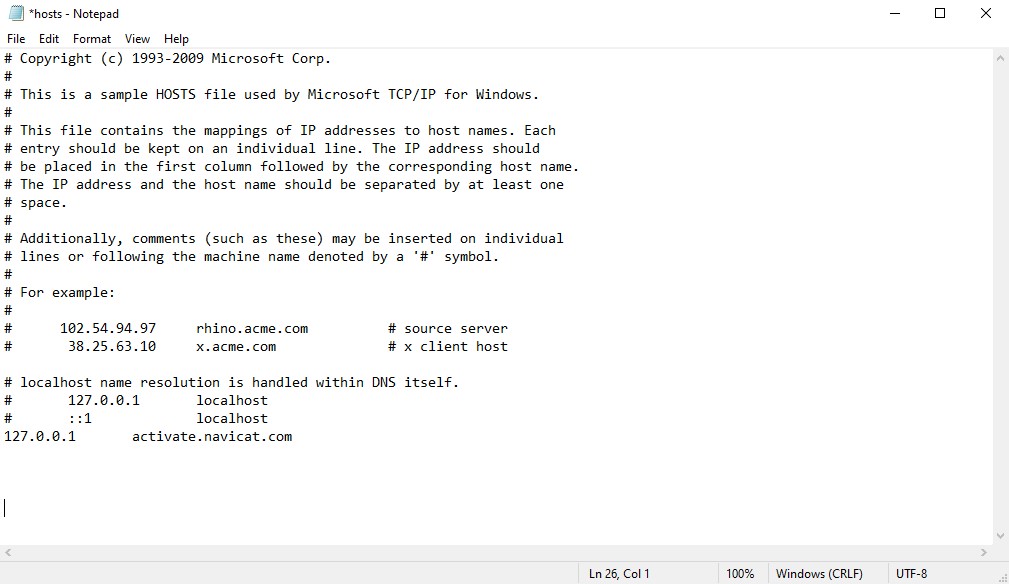
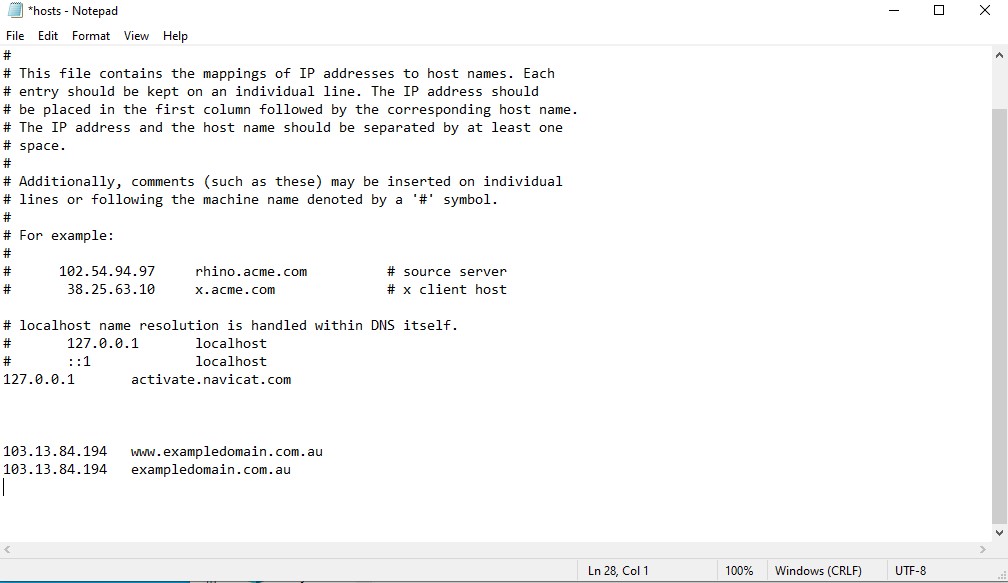
6. Your hosts file should look similar to the example below.
7. To modify your hosts file, you need to add the IP address and both URLS (one with “www.” and one without) in the format as below.
Note that there is a tab space between the two pieces of information.
E.g. You would enter the IP address you wish to map the url to, followed by the tab button, and then the url you are remapping. You will need to add each set of details on a new line, as per the example below
Once you have added your IP and URLs, select File and then Save.
8. You can now view your website at the IP address you have added.
Please Note:Your browser may cache (save) the previous IP address and ignore the hosts file. We recommend that after modifying the hosts file that you open the website using a new incognito window as this will ignore any cached IP address and force the browser to use the details you added to the hosts file.
9. You can disable an entry to your hosts file without removing it, by adding a # symbol directly infront of the IP address. This is known as commenting out a line, and will prevent the entry from taking effect. To reactivate the entry, simply remove the # symbol.