In this article, we will guide you through the process of setting up OneDrive on your Mac. Including adding and synching your OneDrive contents, and sharing a folder with different levels of permissions.
Installing OneDrive on Your Mac
1. Firstly, install OneDrive through the App Store or click on the below link.
https://apps.apple.com/us/app/onedrive/id823766827
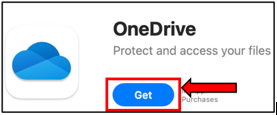
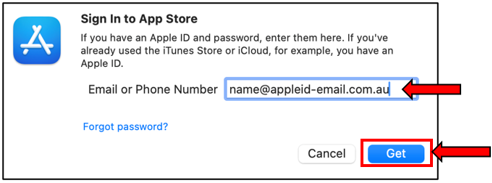
2. Click on Get, and Install OneDrive. You may be prompted to enter your Apple ID email and password to download the OneDrive app.
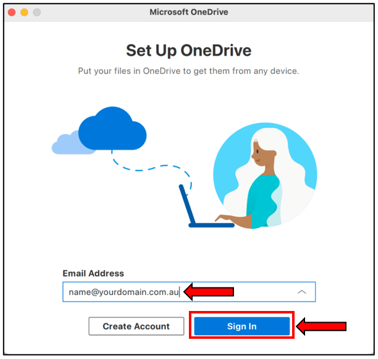
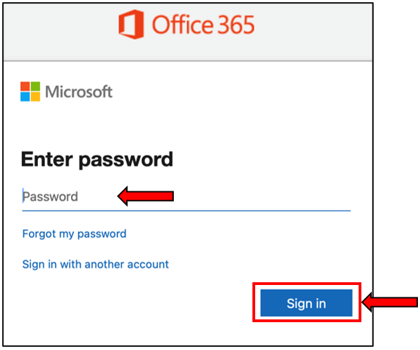
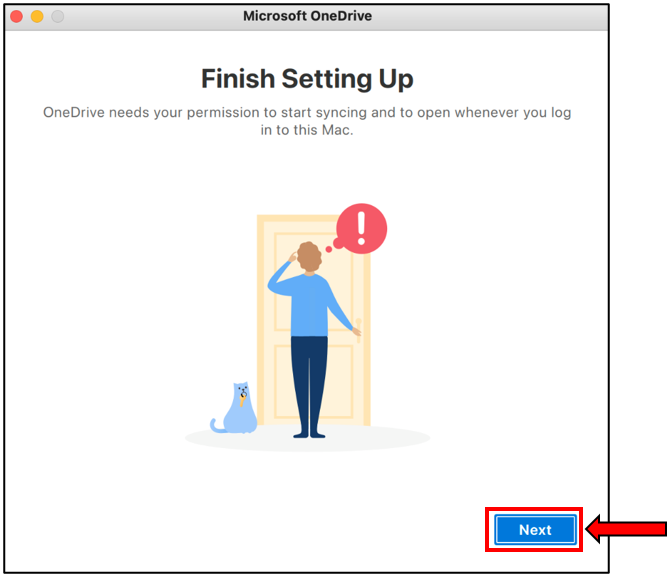
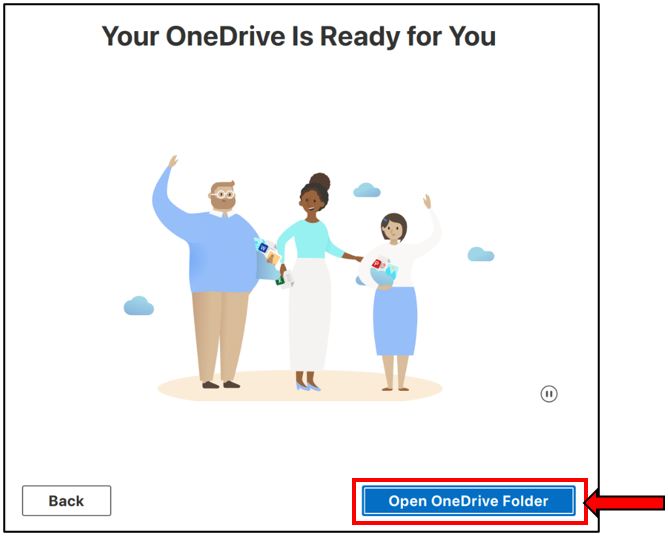
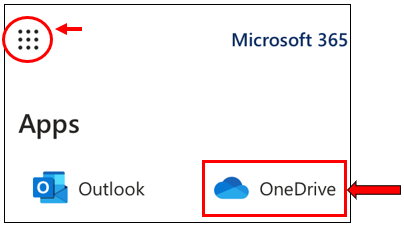
3. Once the installation is complete, open the OneDrive app.
1. If you already have OneDrive installed on your Mac. Navigate to the top menu bar of your Mac and click on the OneDrive icon.
2. Click on the cog and select Preferences.
3. Click on the Account tab, then click on the Add an Account button.
4. Enter your Work email address, and click on Sign in. Continue to enter your password, and click on Sign in again.
5. You may be prompted to use the Microsoft Authenticator app, proceed to enter the number. Click here for the Guide to set up Multi-Factor Authentication (MFA).
6. Click on Choose OneDrive Folder Location. Select a location, or continue and click on Choose this location.
Finish up the settings by clicking Next. OneDrive will briefly guide you through the instructions to use OneDrive. Follow the quick guides and click Next to proceed.
You have successfully set up OneDrive on your Mac.
Accessing your OneDrive contents
OneDrive will appear in your Finder under the Locations section.
One Drive – Your Company Name: Your personal company files (My Files) will be stored here, which is only visible to you.
One Drive – Shared Libraries – Your Company Name: All the contents that have been shared with you will be stored here, once you have synched the content.
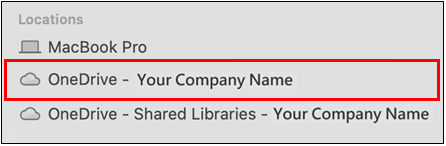
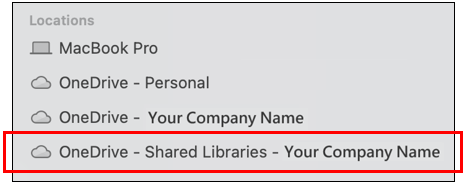
All the contents which have been shared with you will be located under “OneDrive – Shared Libraries – Your Company Name“.
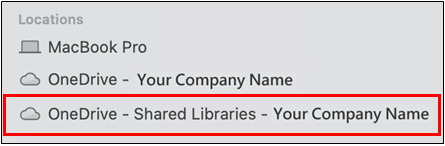
The Shared Libraries allow people within your company with permissions, to store and access contents that have been worked on together.
Once you have synched a shared folder, all the contents will appear here on your Mac including contents from SharePoint.
Your personal Company’s OneDrive account will be labeled under “One Drive – Your Company Name”.
All the files stored here are your personal company files which will only be visible to you.
If you see a people icon next to your folder name, this indicates that the file/folder is shared with other people.
This is equivalent to the My files section on your web version of OneDrive in office.com
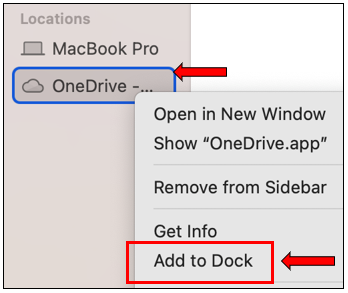
You may also add the OneDrive app to your dock. Right click on your OneDrive, then select Add to Dock.
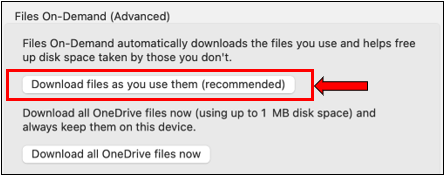
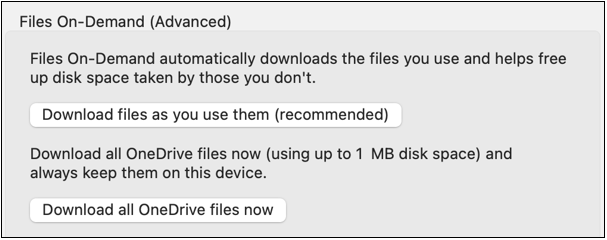
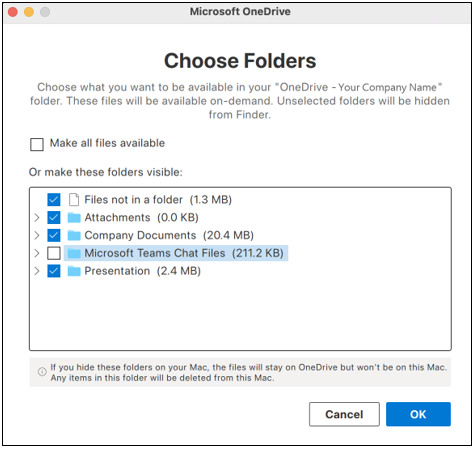
Depending on your Company's preferences, there are 2 types of storage options you can choose from.
Microsoft recommends using the Download files as you use them option.
Download files as you use them.
- Select this option to save space and system resources. You will see all your files in your Company's OneDrive. However, they will only appear as online-only files, which does not take up any storage space on your Mac. Only contents that you have opened and worked on will be downloaded into your Mac.
Download all OneDrive files now
- By selecting this option, all your Company's synched data will be downloaded and stored the content on your Mac.
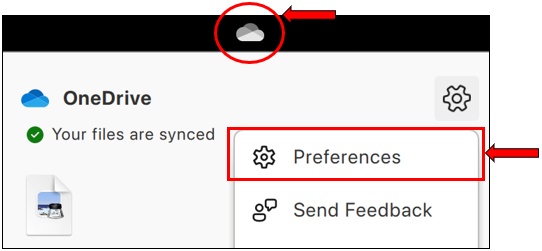
First, navigate to the top menu bar of your Mac. Click on the OneDrive icon, and then click on Preferences.
Then, select the desired storage option.
How To Sync A Folder To Your Mac
Synching a OneDrive folder will add the folder to your OneDrive in Finder. There are several ways to sync a folder:
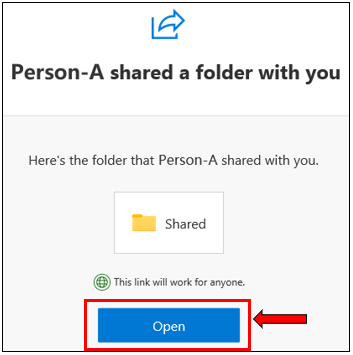
1. Open the email invitation with the subject ‘John’ shared the folder ‘Shared’ with you.
2. Click on the Open button as shown below.
1. Click on the OneDrive icon located at the top of your menu bar. At the bottom, click on View Online. This will open the OneDrive web version.
2. Navigate to the Shared section on the left panel menu.
This section contains files or folders which has been shared with you, as well as the names of the people who shared them.
1. Login to office.com. Click on the ⋮⋮⋮ app launcher displayed on the top left-hand corner of the menu, and select OneDrive.
2. Navigate to the Shared section on the left panel menu.
This section contains files or folders which has been shared with you, as well as the names of the people who shared them.
3. Click on the File or Folder you wish to Sync to your Mac. Select the Sync button. Click to Close notification and allow the contents to sync in the background.


You have successfully synced your Company’s Folder to your Mac.
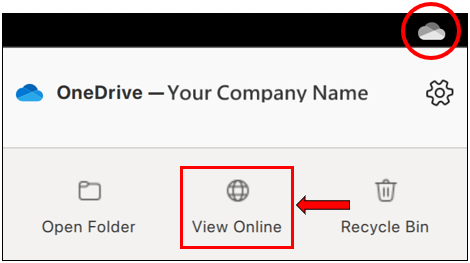
The contents which you have synched will appear in your Finder under:
- OneDrive - Shared Libraries - Your Company Name
How to Stop Synching a Folder
1. Navigate to the top menu bar of your Mac. Click on the OneDrive icon, and then click on Preferences.

2. Select the Account tab. It will list the contents that you have synched on your Mac.

3. Select Stop Sync – To remove the whole folder/directory.
3. Select Choose Folder – If you would like to select individual folders within the directory to remove.
4. Uncheck any folders you don’t require on your Mac, and select OK.
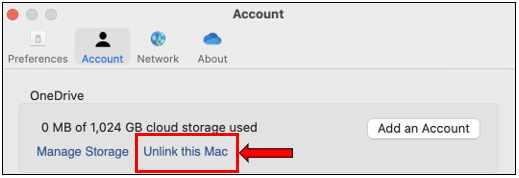
1. Navigate to the top menu bar of your Mac. Click on the OneDrive icon, make sure that you have selected the correct OneDrive account, then click on Preferences.
2. Select the Account tab. Click on Unlink this Mac.
Sharing a folder on OneDrive
In this section, we will guide you through how to share a folder on OneDrive.
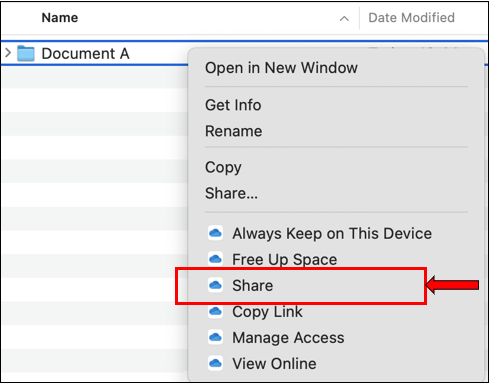
1. Open Finder and navigate to the folder you would like to share.
2. Right-click (or hold down Control-key and click) on the folder, and select Share.
1. Login to office.com. Click on the ⋮⋮⋮ app launcher displayed on the top left-hand corner of the menu, and select OneDrive.
2. Navigate to My files, and Select the folder you would like to share. Click on the Share button above.
1. Click on the OneDrive icon located at the top of your menu bar. At the bottom, click on View Online. This will open the OneDrive web version.
2. Navigate to My files, and Select the folder you would like to share. Click on the Share button above.
3. Enter the name or email of the person you wish to share with, and click on Send.

You have successfully shared the content.
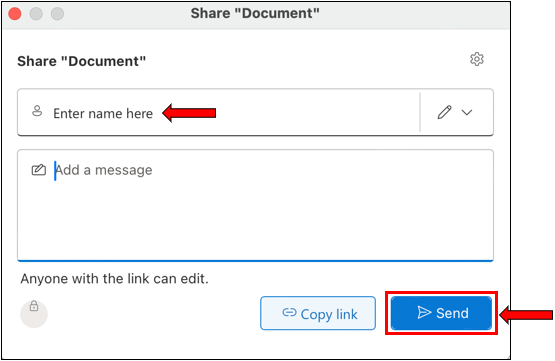
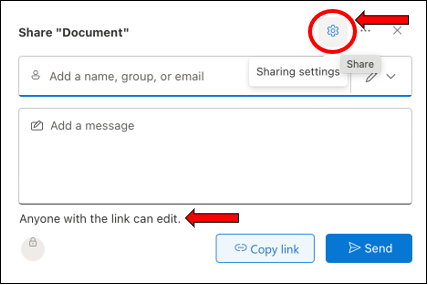
When sharing a content, you can review the permissions by clicking on the Sharing settings cog.
In this example, the permission status will be displayed just above the Send button.
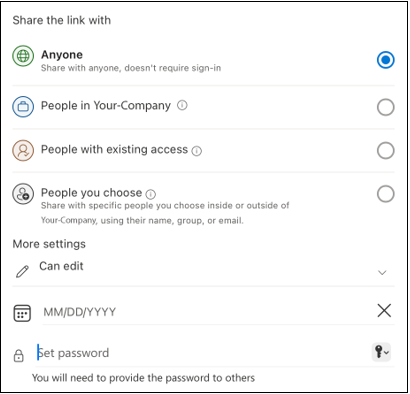
You may select the level of permission by creating the link with sharing options below:
Anyone | Anyone who has this link can open the shared content, including people outside of your organization. We would recommend setting a password for sensitive content. See below Set Password. Note: This is the default permission determined by OneDrive, you may request to change the default access by emailing support@perthwebhosting.net.au |
People in Your-Company | Share the content with people within your organization. Anyone with a copy of the link within your organization will be able to access the content. |
People with existing access | Use this option to re-share the link/content with somebody who already has access. |
People you choose | Use this option for secure and sensitive contents. Only the people you specified have access to this shared content. Anyone who clicks on this link will be required to sign in with their Microsoft account. By selecting this option, you will have the option to remove each individual person's access in the future. |
More settings
Can Edit | People with editing access can copy, move, edit, rename, share, and delete anything in the folder. |
Can View | This will allow view-only access. The people with this link won't be able to edit or share the file with others. |
Set Expiration Date | You may set an expiration date for the link you share. Once the link has expired, the people with the link will not be able to access the content. |
Set Password | When a user clicks the link, they will be prompted to enter the password before they can access the content. Please provide the password separately or within the message section. |
Troubleshooting OneDrive
If you are unable to see the contents which has been shared with you, or if there is no sync option in your OneDrive folder. Please try the following steps.
Restarting the OneDrive app
1. Try to close and reopen OneDrive on your Mac by going into OneDrive icon and select Quit OneDrive.
2. Search for the OneDrive app and reopen it.
Remove and Re-add your OneDrive account
1. Navigate to the top menu bar of your Mac. Click on the OneDrive icon, then click on Preferences.
2. Select the Account tab. Click on Unlink this Mac.
3. Follow the steps listed above to re-add your OneDrive account to your Mac (Select the Existing OneDrive option)


Files On-Demand option
1. Navigate to the top menu bar of your Mac. Click on the OneDrive icon, and then click on Preferences.
2. Select Download files as you use them. Wait for a few minutes for the content or sync option to appear.

