To create a database, scroll to the Create New Database section and perform the following steps:
1. In the New Database text box, enter a name for the database.
2. Click Create Database. A new interface will appear.
3. Click Go Back. The new database will appear in the Current Databases table.
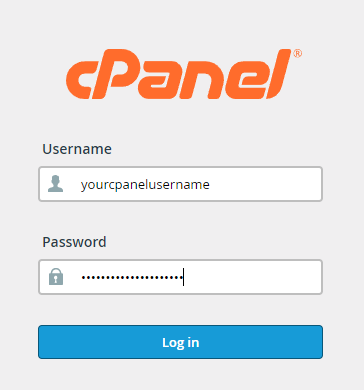
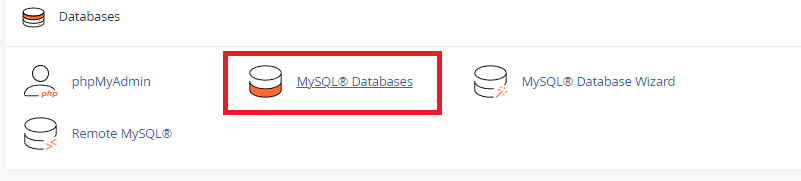
To access and manage databases that you create, use the phpMyAdmin interface (cPanel >> Home >> Databases >> phpMyAdmin).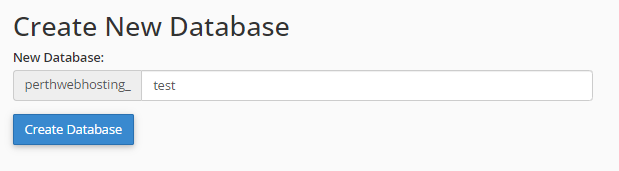
Before you proceed:
Naming conventions are very important with MySQL. Renaming your database can potentially cause your website to stop working if not done correctly.
Only rename databases if you are confident in doing so. If in doubt, please contact Perth Web Hosting.
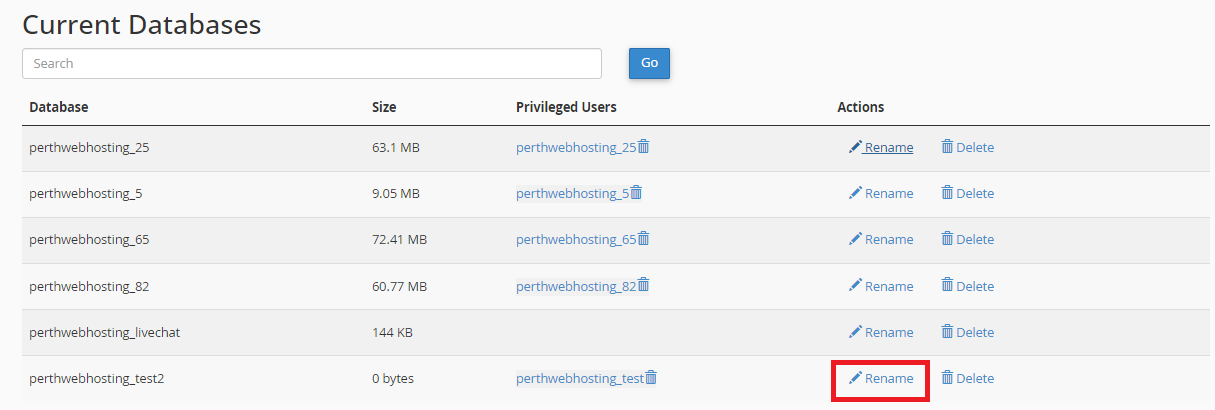
To rename a database, scroll down to the Current Databases section, and perform the following steps:
1. In the Current Databases table, click Rename for the desired database.
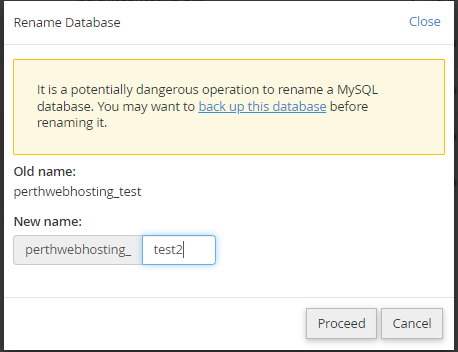
2. Enter the new database name in the New name text box.
3. Click Proceed.
Before Proceeding
Deleting databases that your website depends on can potentially cause your website to stop working. Please only delete databases if you are confident in doing so.
If you are unsure, please contact Perth Web Hosting
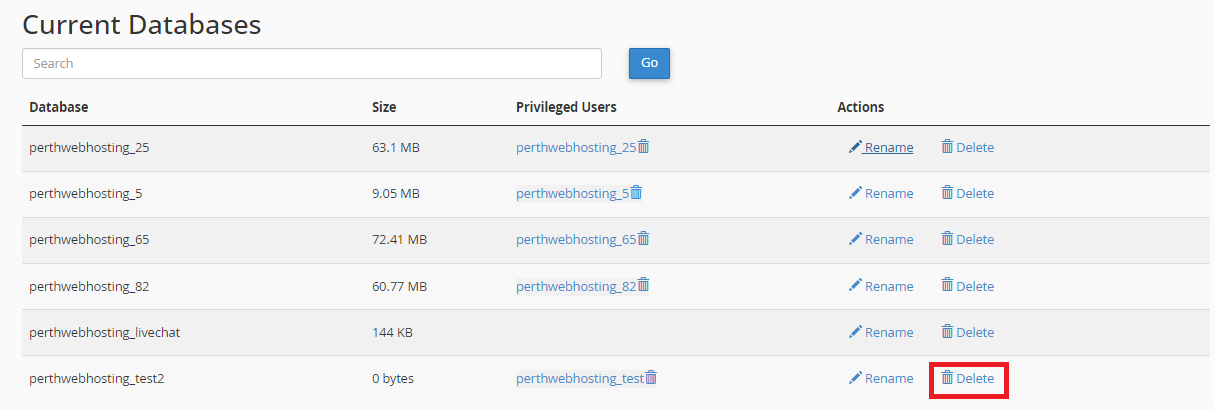
To delete a database, scroll down the page to the Current Databases section, and perform the following steps:
1. In the Current Databases table, click Delete next to the database you wish to remove.
2. To permanently delete the database, click Delete Database.
3. Click Go Back to return to the main interface.
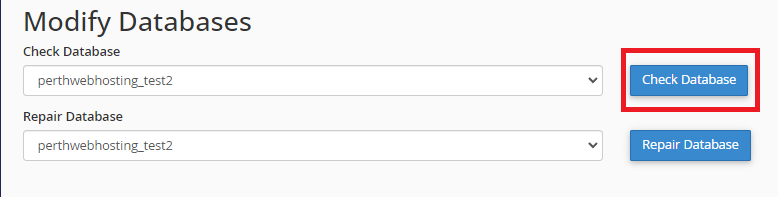
To check a database for errors, scroll down the page to the Modify Databases section, and perform the following steps:
1. In the Check Database drop down menu, select the database that you wish to check.
2. Click Check Database. A new interface will appear, and the system will check whether the database functions correctly.
3. If the system detects a problem in the database, it displays the name of the corrupt table. You should proceed to the "Repairing a database with error" section below.
4. If the Check Complete message displays, the database functions correctly.
5. Click Go Back to return to the main interface.
If one of your databases becomes corrupt, you can attempt to repair it.
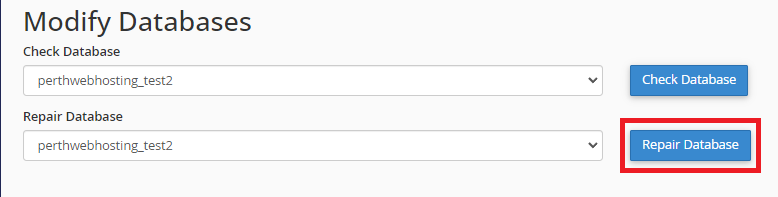
To repair a database, scroll down to the Modify Databases section, and perform the following steps:
1. In the Repair Database drop down menu, select the database that you wish to repair.
2. Click Repair Database. A new interface will appear, and the system will attempt to automatically repair the database.
3. If the system cannot repair the database, it will attempt to determine the source of the corrupt data.
4. If the Repair Complete message displays, the system successfully repaired the database.
5. Click Go Back to return to the main interface.
After you have created a new database, you should assign some users to the database and configure their privileges.
1. Scroll down to the MySQL Users - Add New User section.
2. Enter a username in the Username text box.
3. Enter and confirm the new password in the appropriate text boxes.
4. Click Create User.
5. Click Go Back to return to the main interface.
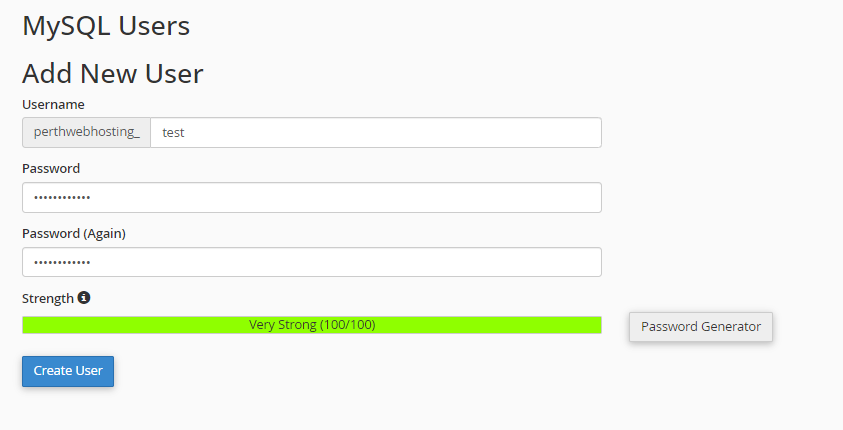
Note: The system evaluates the password that you enter on a scale of 0 to 100.
0 indicates a weak password, 100 indicates a strong password.
Some web hosts require a minimum password strength.
A green strength meter indicates that the password is equal to or greater than the required password strength.
Click the Password Generator to automatically generate a sufficiently strong password.
Before you can use your new user to interact with your databases, you need to assign privileges between a user and a database.
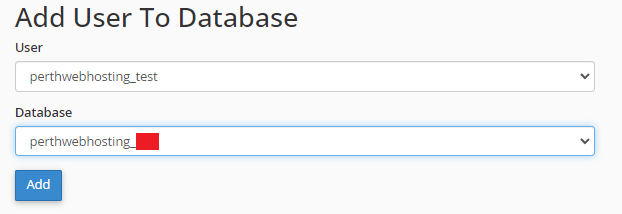
1. Scroll down to the Add User to Database section of the interface. Select the desired user and database from the menus.
2. Click Add.
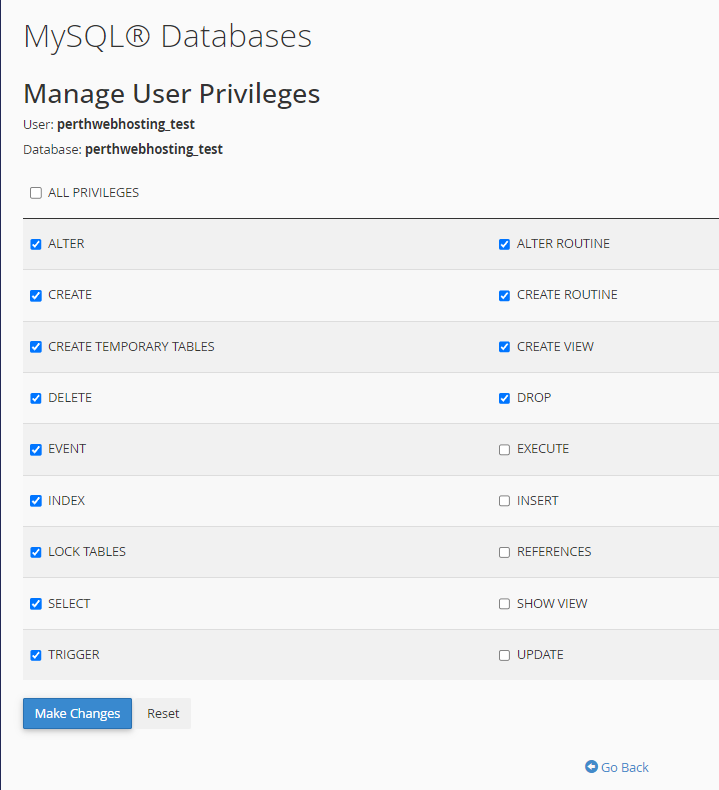
3. Select the checkboxes that correspond to the privileges you wish to grant to this user.
4. Click Make Changes.
5. Click Go Back to return to the main interface.
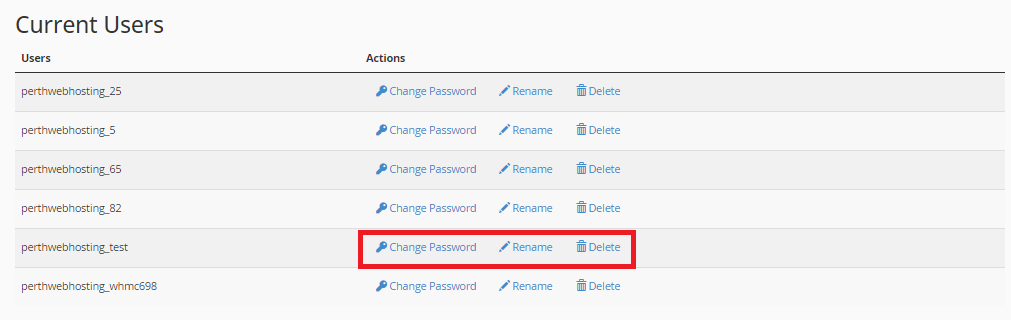
The Current Users table lists all of your MySQL database users, and allows you to perform the following actions.
- Change Password : Click to modify a database users password. Enter and confirm the desired password, then click Change Password.
- Rename : Click to rename a database user. Enter your desired username, and then click Change Username.
- Delete : Click to permanently delete a database user, and then click Delete User to continue.