

3. Enter your details – your display name, the full email address, and the password which was set in cPanel. Click on Next.
Note: Where the example refers to yourdomain.com.au you must replace this with your actual domain.
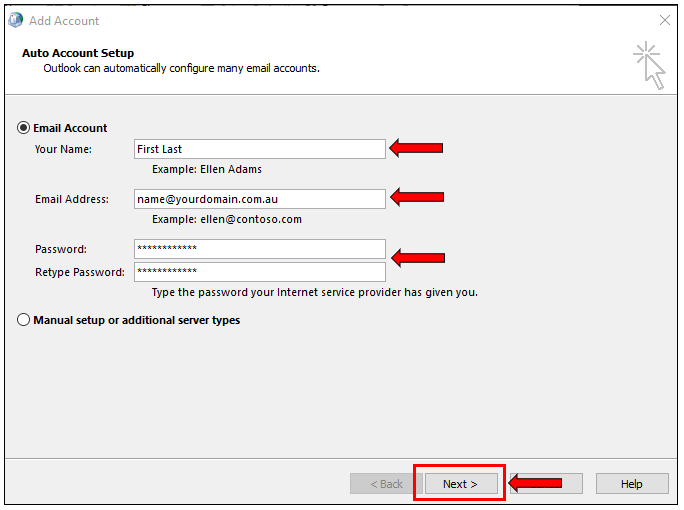
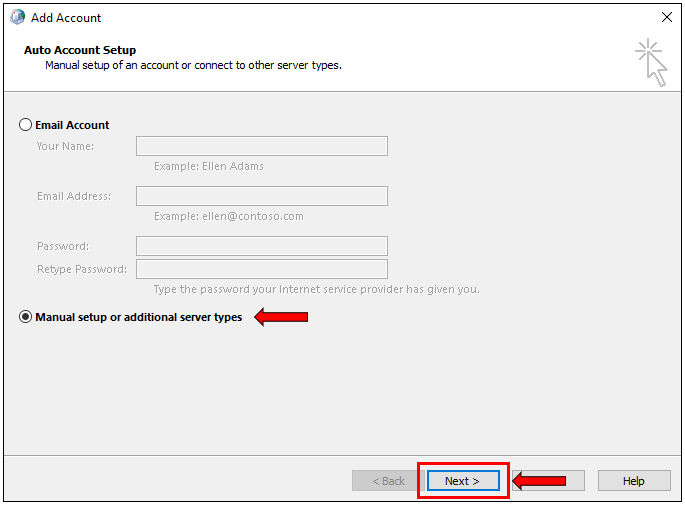
4. Select the checkbox for ‘Change account settings’. Click Next.

5. Drag the bar for ‘Mail to keep offline’ to All.
This will have all your emails stored locally on your computer.
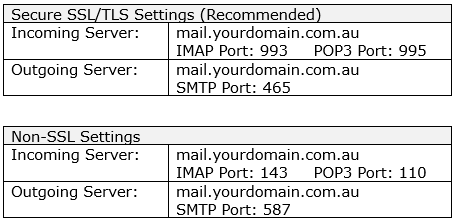
Please note: The incoming and outgoing hostname can be the same on our platform.
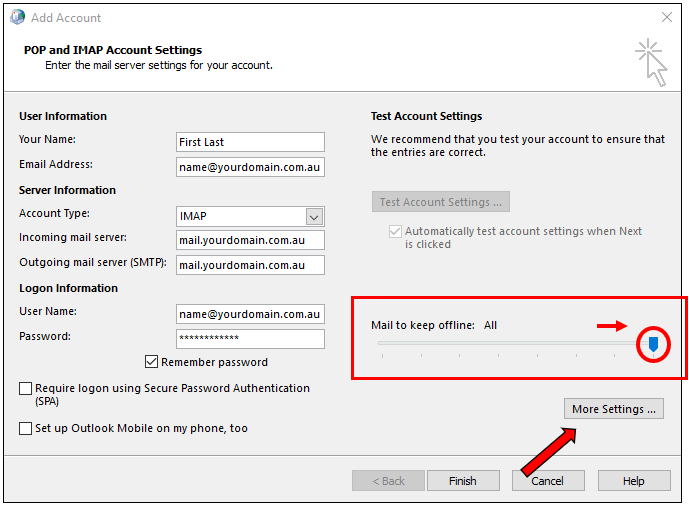


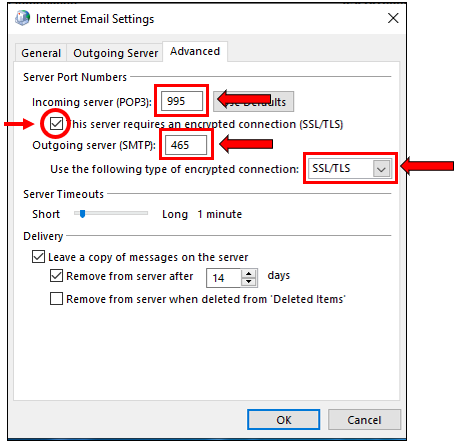
7. Manual Server Port can be configured in the Advanced tab if needed:

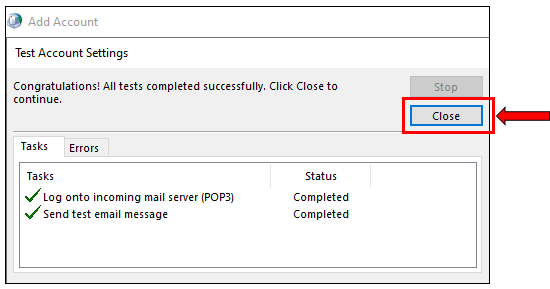
9. Click on Finish and your email account has been added to your Outlook.