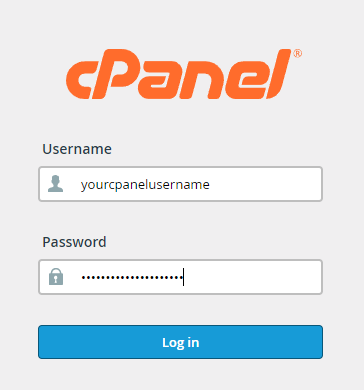
To login to your cPanel account, you can login via
- https://yourdomain.com.au/cpanel (your actual domain) or;
- via MyToolbox.
Your cPanel username and password would have been sent to you in the email when you signed up with us, subject titled “New Account Information“. If you have misplaced this email, please contact us and we are happy to resend you this email.

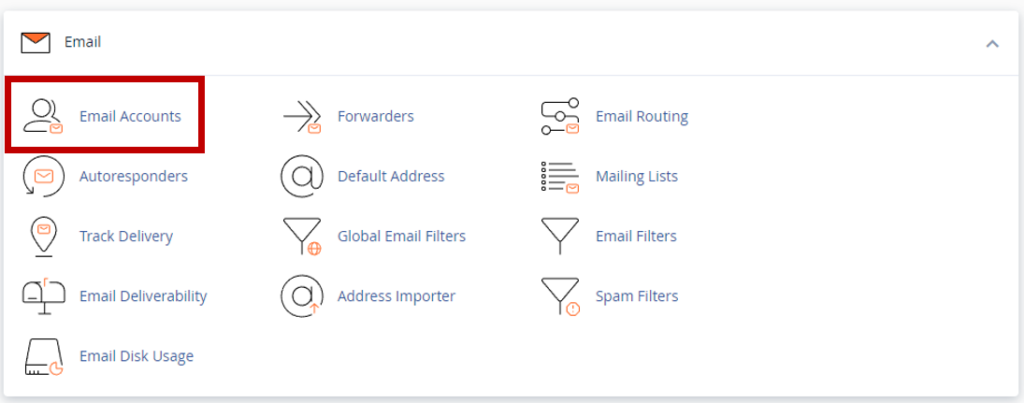
Scroll to the Emails Section
Under the Email section, click on email accounts

Click on the Blue “+ Create” button
Choose a Username (the name before the ‘@’ symbol). For example, if you want johnsmith@yourdomain.com.au, your username would be johnsmith.
Choose a Password. The password must meet a minimum score of 65. Please ensure you avoid using a simple password to prevent your email account been compromised. Perth Web Hosting reserves the rights to change the password, disable the email account or, suspend the full cPanel account if the email account is compromised.
Optional Settings – This may be expanded to show and set the email account’s storage space (quota) and set up ‘Automatically Create Folders for Plus Addressing’.
Storage Space
- Set a mailbox quota – This will give the mailbox quota limit. For example if you don’t want a specific user to keep email stored on the server due to other users needing a bigger space, you could choose to limit the account.
- Unlimited – The mailbox can use the maximum disk quota limit set on the cPanel account.
Generally, choosing Unlimited would be sufficient. The main cPanel contact will get an 80% and 90% disk usage alert. Please note that individual users WILL NOT get an alert via email.
Send a welcome email with instructions to set up a mail client – If the checkbox is ticked, this will generate a custom email message stored in the newly created email account with specific email settings for the user.
Stay on this page after I click Create – If you need to create another email account. It will create an email account and reset the form ready for another email been created.

Click on the ‘+ Create’ button once you have entered the details.
Related Articles:
- How to Remove an Email Account (IMAP/POP3)
- How to Forward an Email onto Another Email Address
- How to Change my Email Account Password
- How to access cPanel Roundcube (Webmail)
- How to Block Senders in the Spam Filter
- How to Create an Email Filter to Block Emails
- How to Create an Auto Reply (Out-of-Office message)


