To manually install an SSL certificate, perform the following steps:
1. Log into cPanel using either of the methods outlined above.
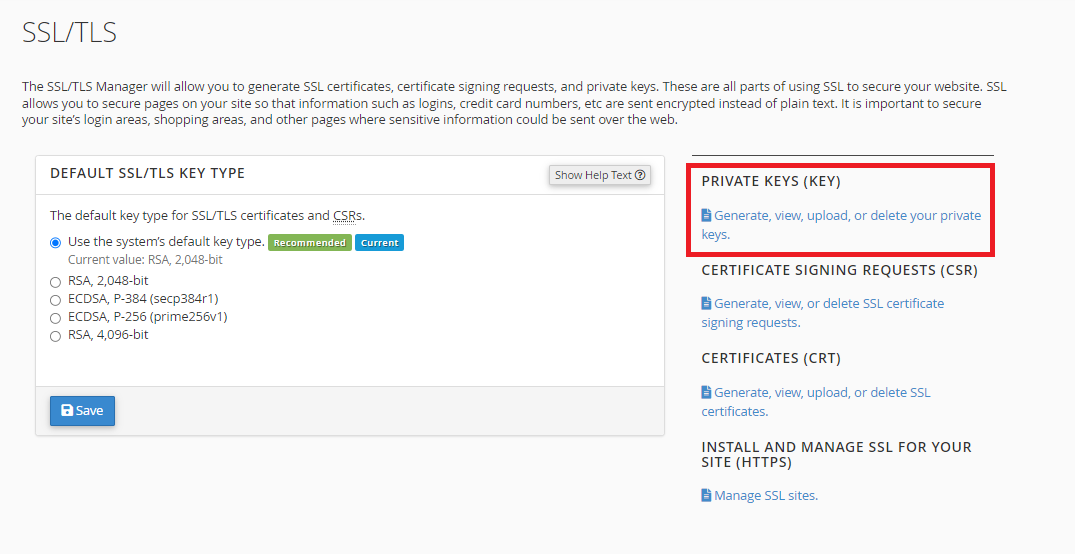
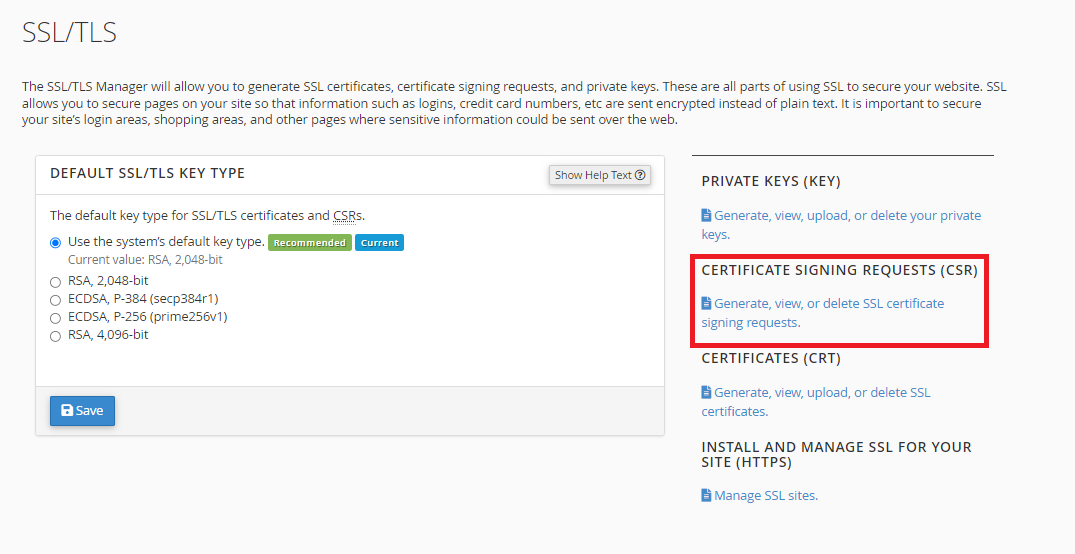
2. Scroll down to the Security section and click on SSL/TLS.

3. You should be presented with a screen similar to the example below. Click Generate, view, upload or delete your private keys.
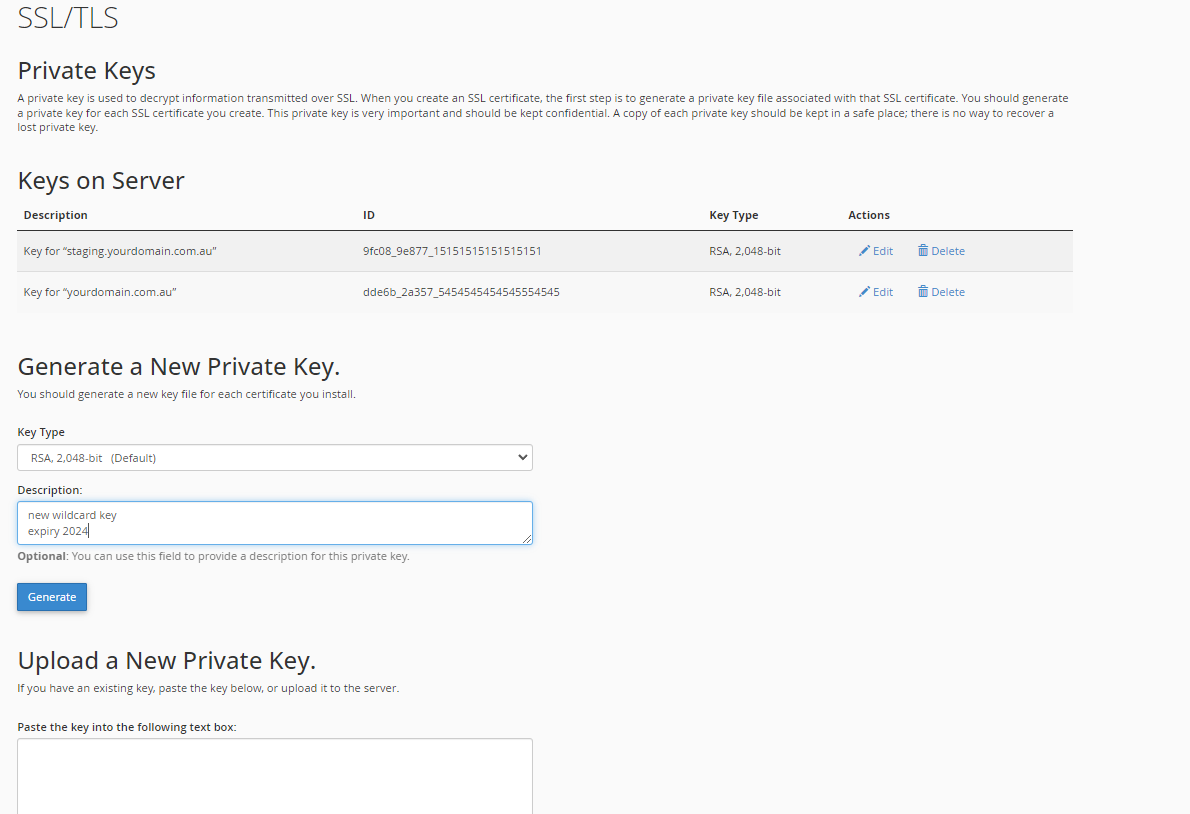
4. You should now be presented with a screen similar to the example below.
- You can select your preferred encryption Key Type from the drop down menu (RSA, 2048 bit is the recommended default)
- You can select a Description to help identify the certificate this key will be associated with.
5. Click Generate.
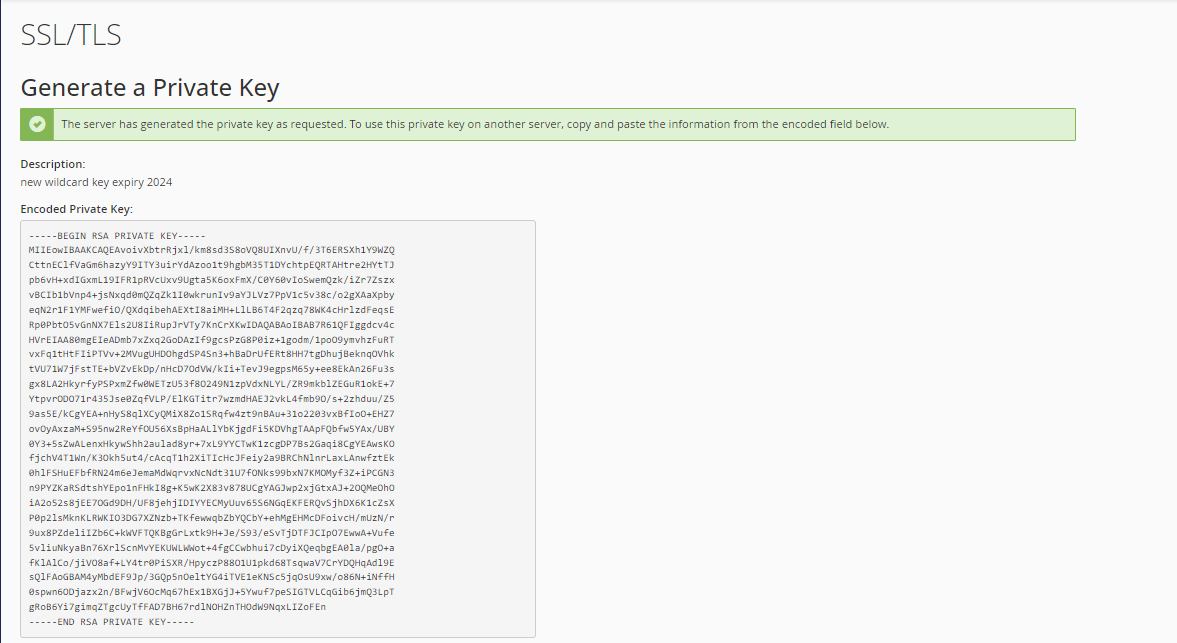
6. cPanel will now generate a private key for you. Copy this key somewhere handy as you will need it in later steps.
Perth Web Hosting recommends that you keep a copy of your private key somewhere secure, particularly if you plan to install this certificate on multiple servers.
7. Scroll to the bottom of the page, and click Return to SSL Manager.
8. Click Generate, view, or delete SSL certificate signing requests.
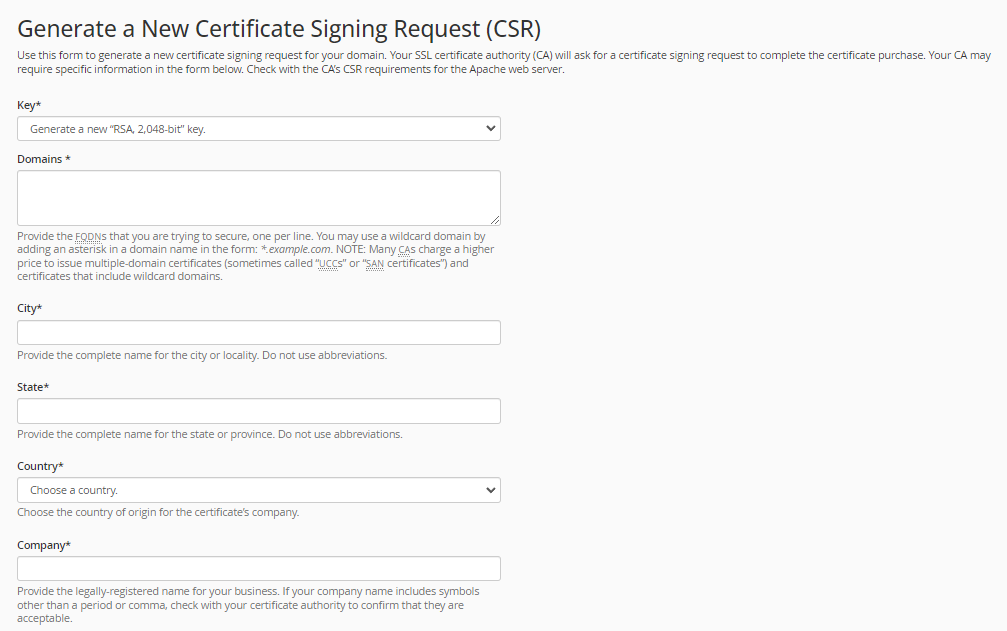
9. You should now be presented with a screen similar to the example below.
To generate a new certificate signing request, please fill out the following fields
Key: You can either select an existing key (such as the one we generated in the previous steps) by selecting its description from the drop down menu, or you can generate a new key.
Domains: You need to enter the domains that you wish to use this certificate on. You can create a wildcard domain that will cover any subdomains. For example, to cover all subdomains of "example.com" enter "*.example.com"
City/State/Country: Enter the complete name for each option, please do not use abbreviations.
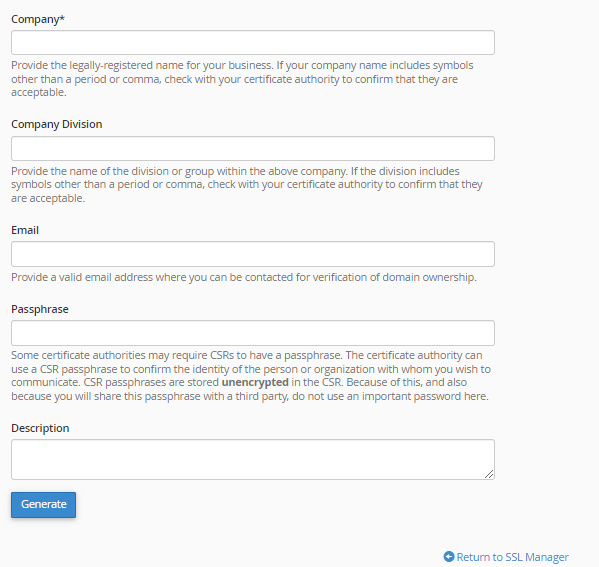
9. (continued)
Company/Company Division: Provide the legally registered name for your business. Optionally you can also specify a group or division within a company.
Email: Enter a valid email address that you have access to. This will be used for verification purposes.
Passphrase: A passphrase can add an extra layer of security.
Description: You should enter a distinctive name to identify this certificate signing request
10. Once you have entered all of your details, click Generate.
This will generate your Certificate Signing Request. Copy this to somewhere handy
10. Scroll to the bottom of the page, and click Return to SSL Manager.
11. Now that you have generated your Private Key and your Certificate Signing Request, you can purchase your SSL certificate from a company such as Lets Encrypt.
12. Once you have purchased your certificate, you will be prompted to provide your Private Key and Certificate Signing Request.
13. You will then need to verify your ownership of the domain for which the certificate was requested. There are two ways to do this.
- The first method is by providing the same email you provided in step 9. A verification email will be sent to this address.
- The second method is to verify via DNS record. The certificate supplier will provide you with a CNAME record that you need to add to your DNS records.
Once you have verified your ownership of the domain, you will be emailed with a zip file containing your new certificates.
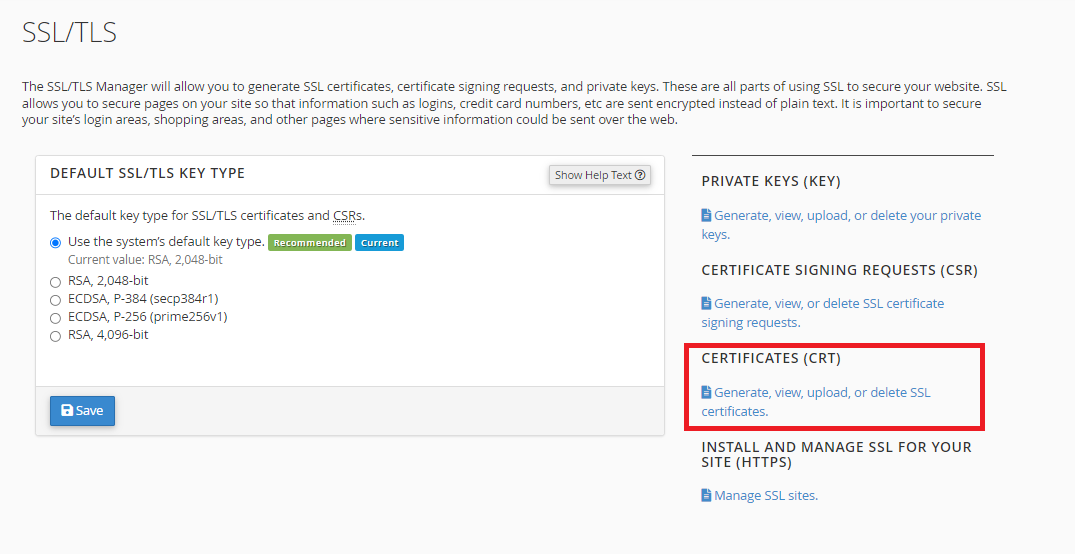
14. Once you have received your new certificates, you need to upload and install them. Return to the SSL/TLS interface in cPanel and click Generate, view, upload, or delete SSL certificates.
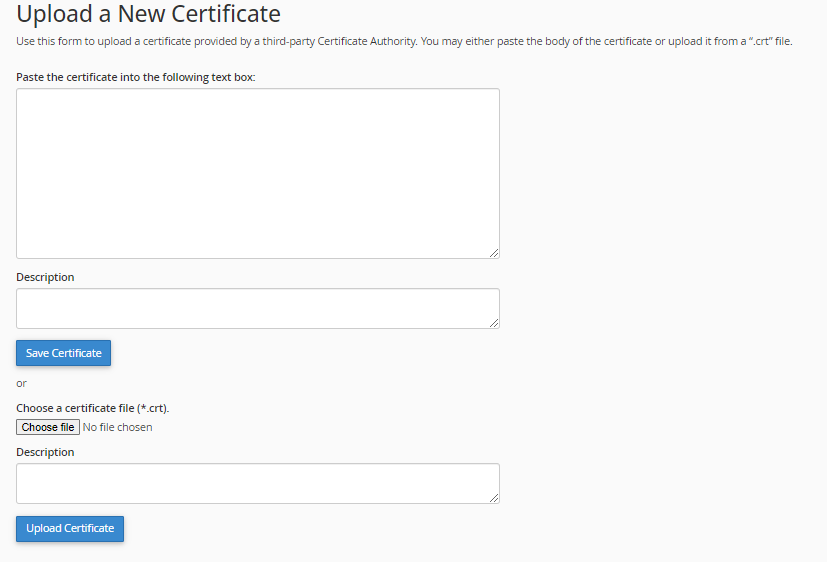
15. Scroll down to the section titled Upload a New Certificate. You have two options to do this.
The first option is to copy and paste the raw text for your certificate, and click Save Certificate.
The second option is to upload the certificate file that was emailed to you. Click Choose File, navigate to the certificate, and select it. Once you have selected the appropriate certificate click Upload Certificate.
15. Scroll back up to the top of the page and you should see a list of all of the certificates on this server.
Click Edit to make changes to a certificate
Click Delete to delete this certificate from the server.
Click Install to install one of your certificates to a domain
For now, please click Install next to the certificate you have just uploaded.

16. The Private Key and Certificate fields will autofill. In the drop down Domain list, select the domain you wish to apply this certificate to. Note that the domain must be one that was included in the certificate signing request in step 9
17. Click Install Certificate.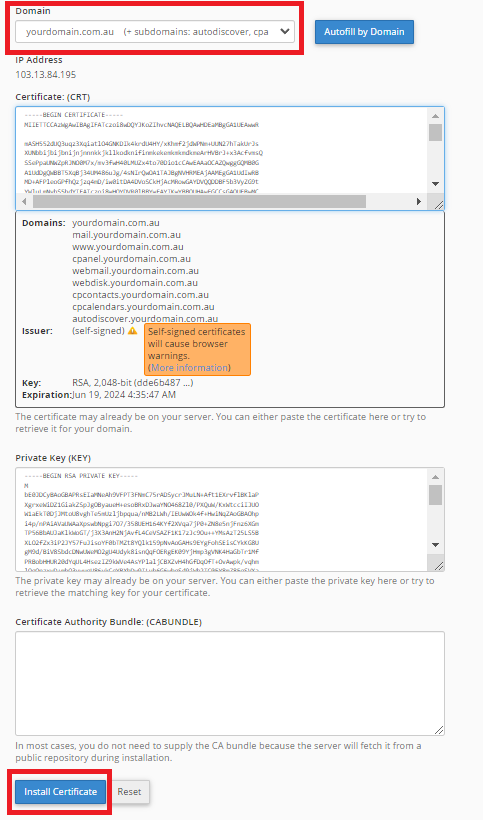
AutoSSL provides and renews SSL certificates automatically, however in some instances you may wish to renew them manually. To do this perform the following steps:
1. Log into your cPanel account using either the methods outlined above.
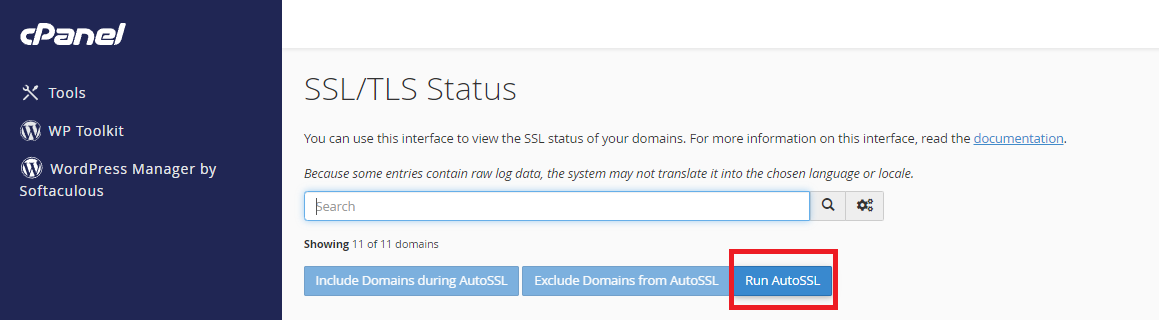
2. Scroll down to the section labelled Security, and click SSL/TLS Status
3. You should be presented with a screen similar to the example below. Click Run AutoSSL.
This will force a renewal of your AutoSSL certificate.
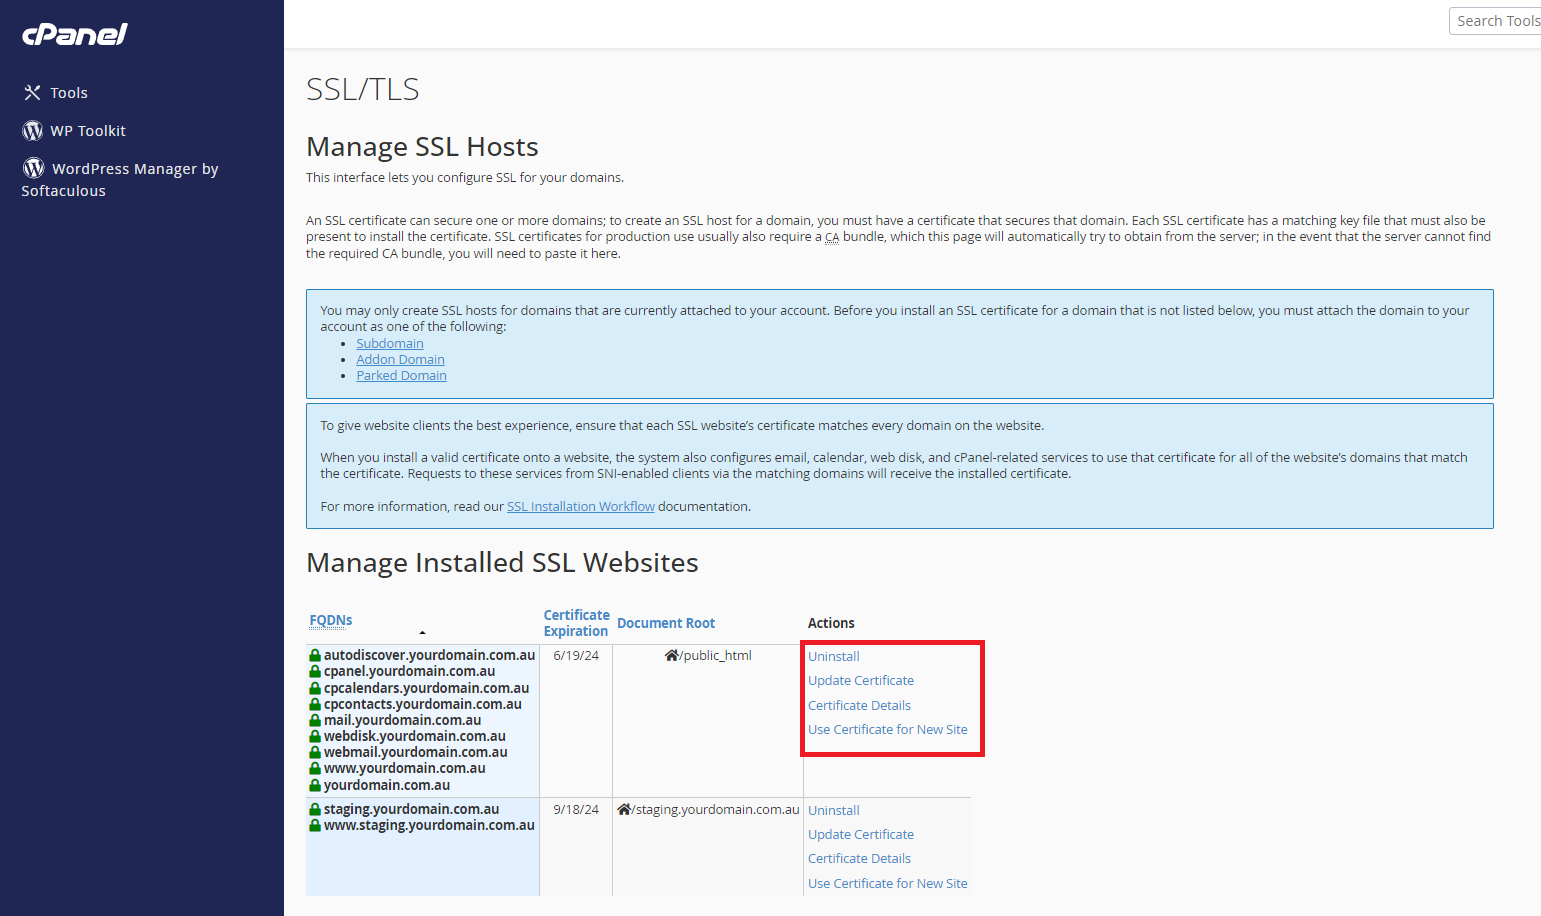
The SSL/TLS interface allows you to manage your existing SSL certificates
- Uninstall: This will remove the current certificate from this website
- Update Certificate: This will prompt you to enter the details of the new certificate in the certificate installation section below
- Certificate Details: This will display the details of the certificate currently being used
- Use Certificate For a New Site: This will autofill the certificate details into the certificate installation section below so it can be applied to another domain.
Frequently Asked Questions:
My AutoSSL certificate is about to expire, what do I need to do?
AutoSSL certificates are valid for 60 days, and then they will automatically renew. No action is needed on your part
I just migrated my website. Why I am getting warnings that it has no certificate?
AutoSSL certificates will not be validated until your nameservers have been updated to point at our server.
Why I am getting SSL certificate warnings when using an older browser?
Prior to 2013 SSL certficates required a dedicated IP address. This is no longer the case, and SSL certificates now use server name indication which allows a single IP address to host many websites and validate their SSL certificates. Due to this old browsers may give false warnings about SSL certificates.
My SSL certificate is properly installed, why are visitors to my website are being directed to a non secure version of the site?
If visitors to your website are viewing the http version, instead of the secure https version, you may need to enable force https redirect in your cPanel account.
My previous host required me to purchase an SSL certificate, do I need to do this with Perth Web Hosting?
All of our cPanel accounts come with a free domain validated SSL certificate included. You can opt to purchase one if you wish but in most cases the free certificate is suitable.
