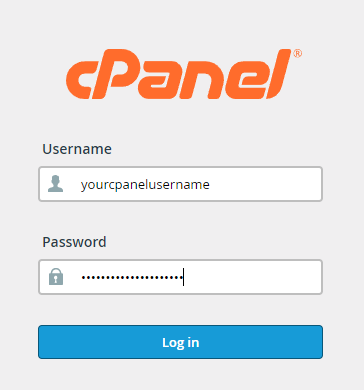
Log in to your cPanel using either of the methods outlined above.
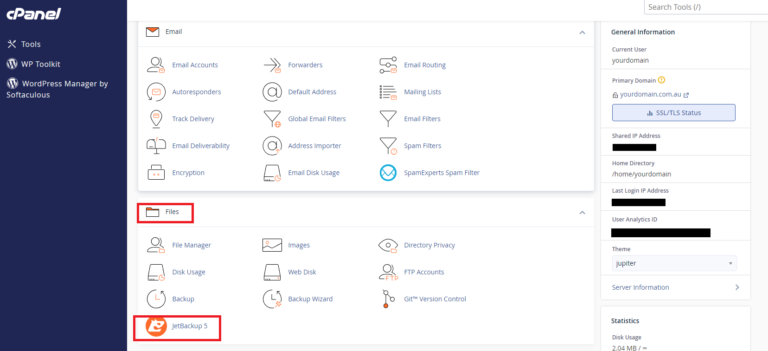
Under the Files section in cPanel, select JetBackup 5.
The JetBackup 5 Dashboard will be displayed showing your account information. Click on the Restore & Download icon on the left-hand side which is the 2 circular arrows.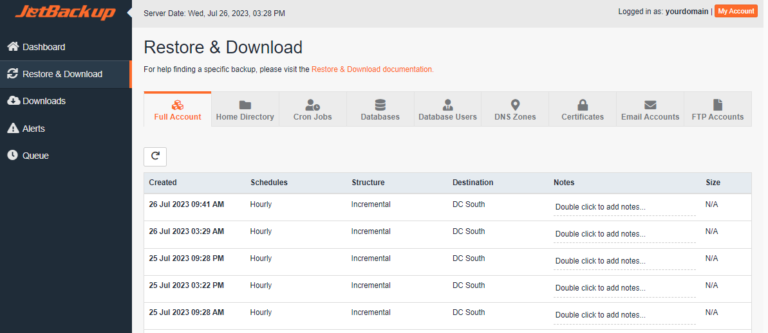
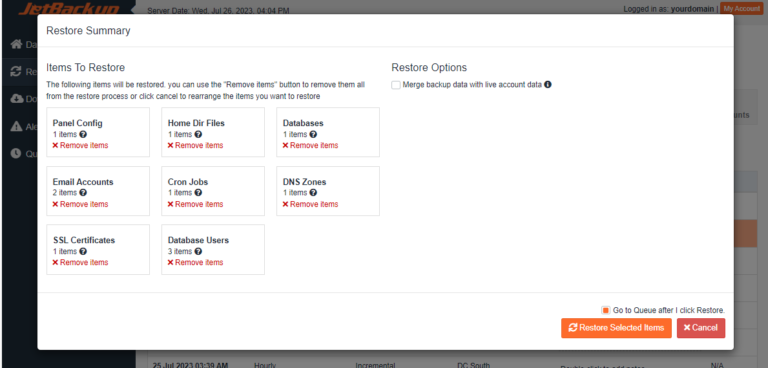
There are 9 different options for data to restore shown under the Full Restore. All items will be selected by default, so you need to go through and unselect the check boxes next to the particular data you do not wish to restore.
By default the Full Account Restore will be selected, but you can select different types of partial restores using the tabs at the top of the page.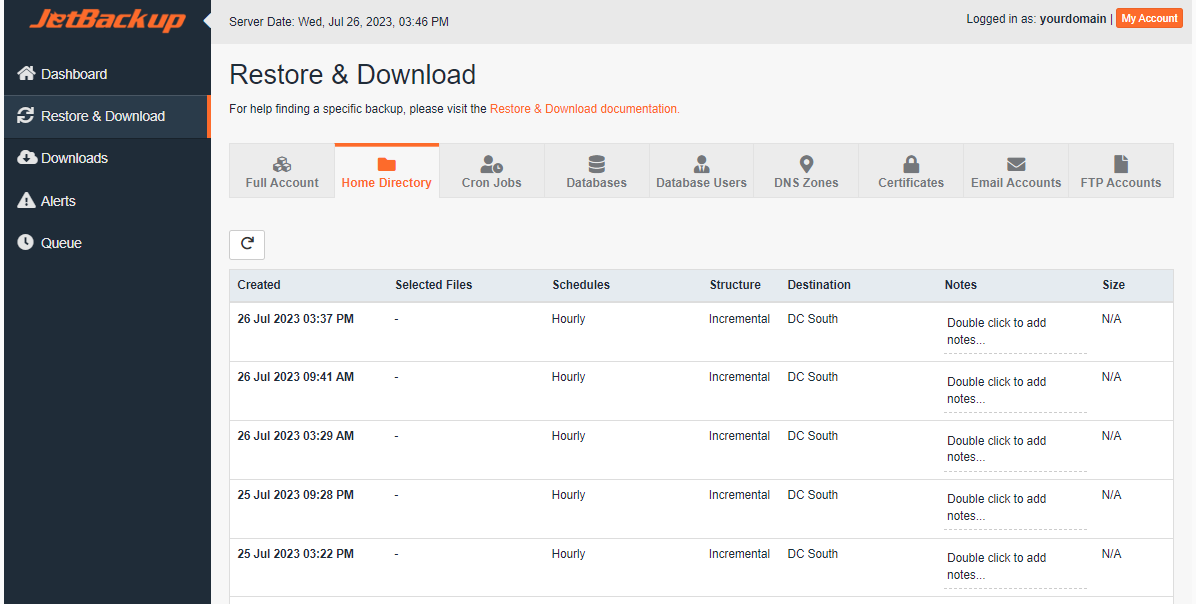
If you are restoring files and/or directories you can specify which ones to restore by clicking on Home Directory and then Change Files Selection under the Selected Files column.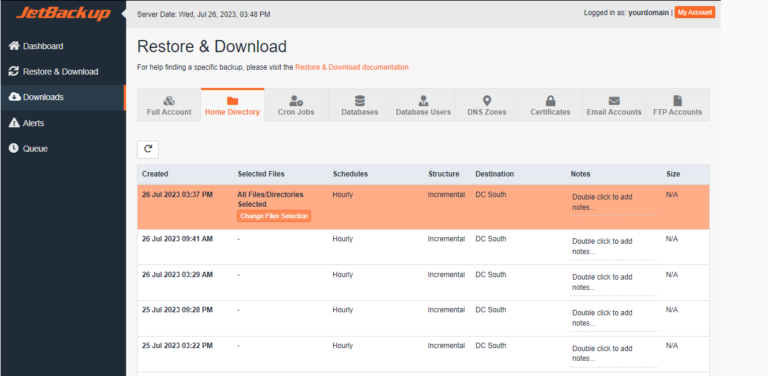
A listing of directories and files will be shown, with the different file types shown under the third column Type. The below example is showing the listing of directories and files under the /backup-root/public_html directory (backup-root is the top-level directory of the backup). You can show hidden files by selecting the check box for Show Hidden Files.
Select the check box next to a directory to restore the entire directory. Select the check box next to a file to restore an individual file.
Drill down into a directory by clicking on the directory name, such as wp-content in the below example. To go back to a previous directory, click the name in the Current Path, such as backup-root in the below example.
- An orange check box on a file means that file will be restored.
- An orange check box on a directory means that entire directory will be restored.
- A green check box on a directory means selected files in that directory will be restored.
In the below example, only the selected files in the wp-content directory will be restored. The entire contents of the wp-admin directory will be restored. All other directories and files will not be restored.
Click on Cancel to cancel and go back to the previous screen. Click on Select Files to proceed to the next step of the restore process.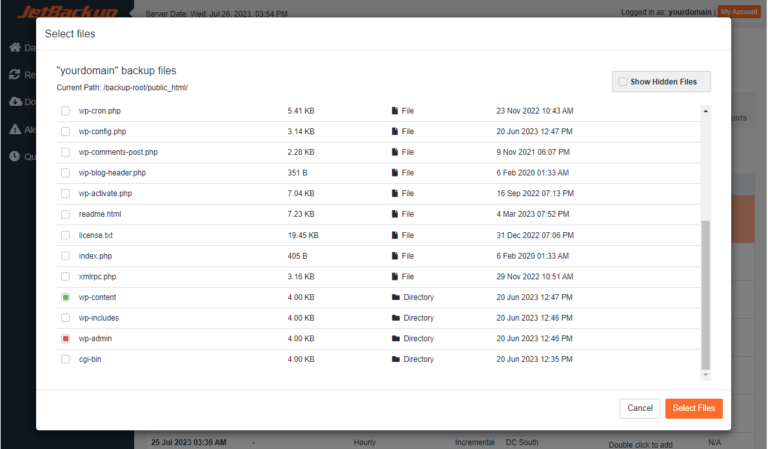
You can also restore data from different backups at the same time. For example, if you would like to restore the backups of 2 email accounts from different backup points, click on Choose Other Backup underneath the particular account. This will present you with a drop down list of the backup points to choose from.
In the below example, you can see that the first account will be restored to the backup on 26 July 2023 at 3:29 AM and the second will be restored to the backup at 09:28 AM on the previous day.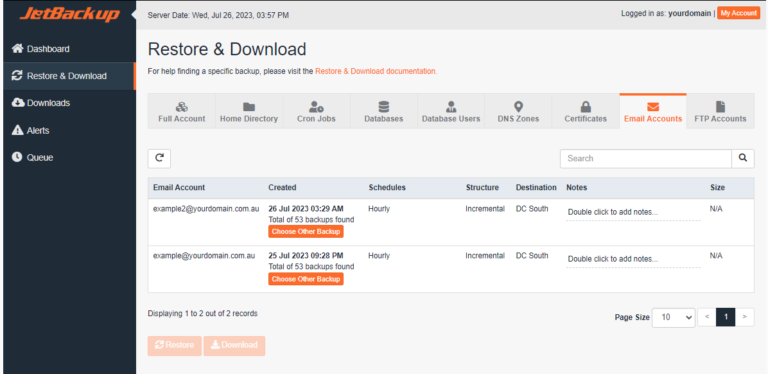
Once your selection has been made click on Restore and the data to be restored will be displayed under Items To Restore.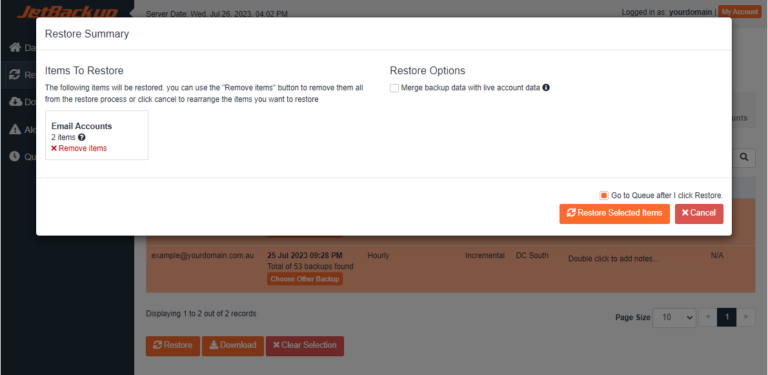
Once the restore process finishes your account data will be back online.